Journey with Jeska
Level Up

Step 3.1
Headphones & Equipment
As I briefly mentioned before, when beat matching you will most likely do this within your headphones before you bring in the next song. This is possible because there is a cue button which allows you to listen to the track within your headphones even though you have not brought it up to play out of the speakers.
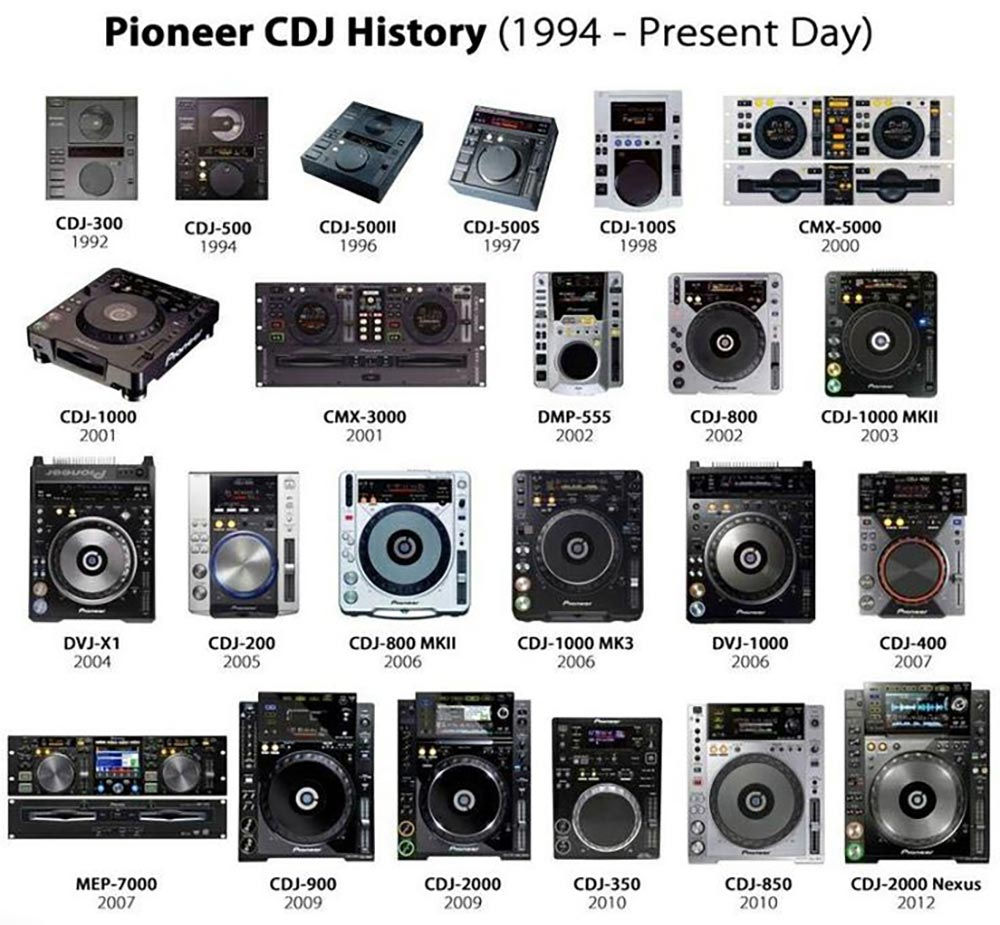
Regarding equipment, if you feel like you want to explore DJing more then I recommend you purchase a DDJ 400 (a couple hundred dollars), this is used alongside your laptop for song selection and to see the waveforms. If you feel confident and are wanting to advance even more and possible take on private gigs I would recommend RX3s (I personally have these at home, which you just plug your USB into). I pair these decks with my JBL 305P MKII 5 powered speakers. These however are roughly $2700-3500. Once you start playing professional gigs you will most likely be playing on 2-4 CDJs 2000 & 3000s with a mixer between them (you also plug your USB into these but these model costs are for the big boy businesses not your pockets). A key point that I should say is that overall it is critical you are familiar with a variety of decks because you never know which ones you will be mixing on at professional gigs especially.

Step 3.2
Looping
When downloading music sometimes you can't always find extended versions. Songs may differ with their structure and for instance only have a 4 bar intro instead of the standard 8 or 16 bars depending on the genre. This is where looping comes into play (but also can/is used effectively for creativity in mixing). When you loop a section of a song it does exactly what it sounds like, it replays the same bars over and over again. I used looping for 2main reasons. 1. I will loop 2 - 4 bars to make the track pretend it has the 8 - 16 bar intro or outro when matching it against the mixing song and 2. I will loop a catchy section of a song then keep halving it overtime to create a dramatic build up before the drop of another song before I cut it out.
Once again, this is all trial and error amongst experimentation so give it ago and see!


Step 3.3
Effects
There are so many effects that you can use whilst mixing! However, as a beginner I would stick to using the central silver knobs (which you either turn to the left for a deeper sound or right for a higher pitchy sound) with the 6 effect options on the left side. The typical effect I believe most beginners use from those options are filter and dub echo.
If you are confident enough you can begin using the effects on the right side column which include a handful more options. The most popular effects from these I believe are echo, reverb, trans, flanger, phraser and vinyl brake. Using these, you also have the possibility of changing the beat seen on the screen (this can get very confusing I feel for a beginner so I am going to leave that for now).

Step 3.4
Memory & hot cues
Memory and hot cues are great to use when you are getting familiar with songs! Now, what's the difference between them?
Well memory cues are just visual points (red arrows) you can set along the wave form. I use these as indicators, for instance after every 8 bars within the introduction, breakdowns and outros of a song I will have them set, this allows me to identify sections of the song that will allow for a smooth introduction of the next song. Hot cues are the alphabetic coloured visual points which will bring you back to that exact section of the song when you click it. However if you a planning a set you may use these as indicators. For instance A is where you start your first song, B is when you bring in the next song and C is when you cut the first song out to allow the second song to continue playing and take over, etc.
